As I began cataloging the recipes in my Tried & Liked file I realized that many of them have been gleaned from the pages of Gourmet magazine. This particular recipe pays homage to both the great travel information and food that Gourmet gave us over many, many years. Thank goodness for Epicurious which allows us to access much of the best that the magazine had to offer for such a long great run.
This favorite goes back to a great Spring Break trip that my family took to Key West, Florida in the late 90’s. Armed with my magazine, there were several restaurants in this idyllic community that I was determined to try. One in particular was a hole in the wall Cuban spot. It took us a bit of walking and searching to find it (long before the days of GPS and i Phones), but it was definitely worth the effort. The star dish of the evening was the Ropa Vieja that my son ordered and we all loved (this is the son who didn’t eat vegetables at the time). To this day I don’t know what drew him to the dish, but I was certainly pleased that my years of encouraging all children at my table to try new things was finally paying off.
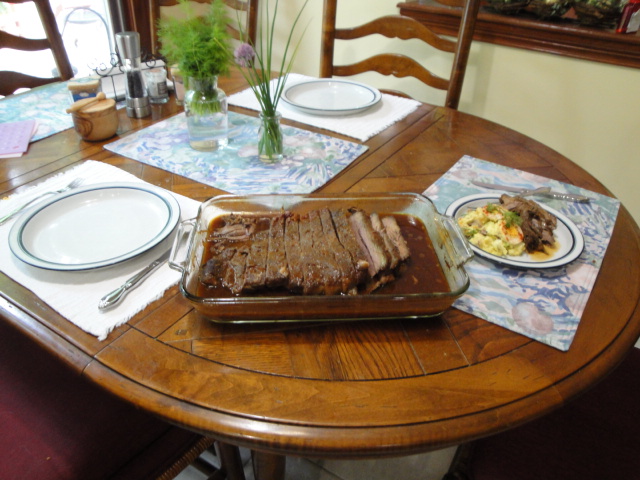
When we were back at home and I wanted to recreate the dish, Gourmet came through once again with a recipe that hit the mark. With their help it became possible for me to easily recreate the flavors and memories of a great family vacation. The recipe is still on the Epicurious site to this day with 79 reviews but sadly without the beautiful photo’s that accompanied it when published in January of 1995. My shots certainly won’t hit their mark, but I think you’ll get a good idea of how this colorful dish can brighten even the grayest of winter days. Yes I know it’s March, but we still have snow on the ground and a bit of comfort food it still the ticket.
I’ve tried a few other recipes for this dish over the years including a Ropa Vieja Pot Pie with Pepper Jack Biscuits from Cuisine At Home which was very good, but at the end of the day the Gourmet version is the base recipe that I always return to when someone in my family says “We haven’t had Ropa Vieja for a while”. Of course I’ve adapted it a bit here and there over the years. My latest take on it is the version I’m sharing with you now.
Ropa Vieja
The name of this recipe translates directly into “old clothes”, as the colorful shreds of meat and peppers and onions resemble a pile of colorful rags. I often hesitate to tell this to people until they’ve tasted it, as it seems to be off-putting to some but I personally love the descriptiveness of the name.
Also note that this recipe makes a lot-never a problem for us as it just keeps getting better and seems to disappear in a couple of days, but you can easily cut it in half.
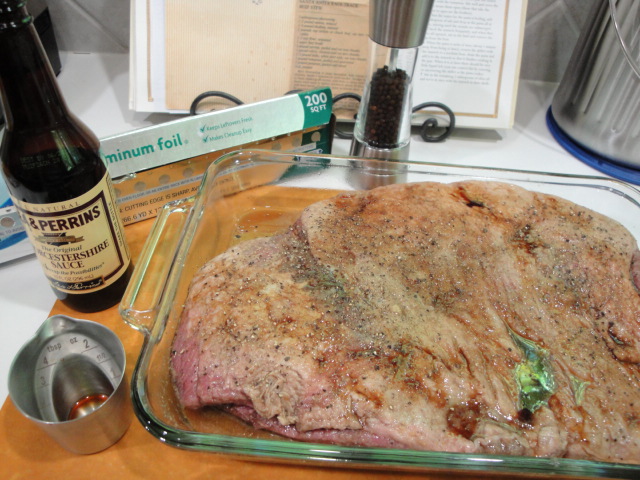
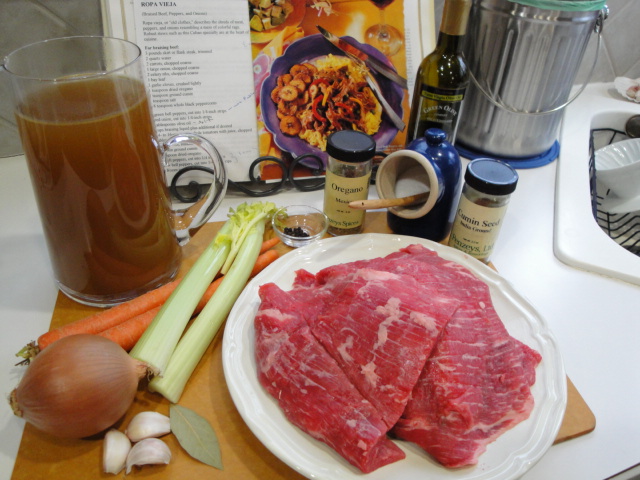
It starts with some Flank Steak, Onion, Carrot, Celery, Garlic, Cumin, Oregano, Bay Leaf, Black Peppercorns, Beef Broth, Olive Oil and Salt

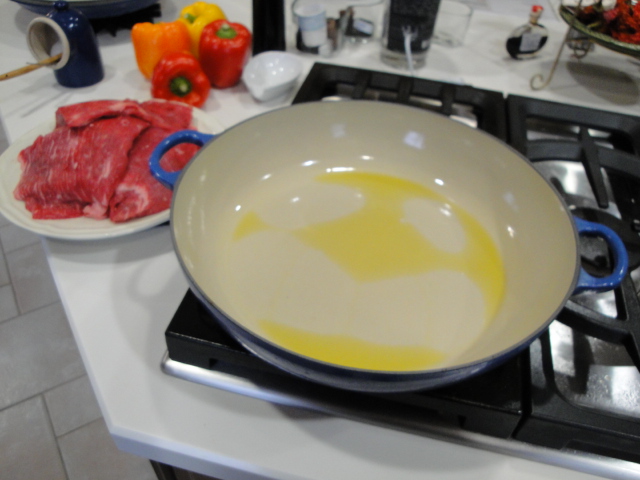
The original recipe simply has you put all of the ingredients in a 5-quart pot and simmer until the meat is tender. I believe you can coax more flavor from the beef by sprinkling it with a bit of salt and freshly ground black pepper and browning it in some olive oil. I’m using a 5 quart braiser here which allows me to brown all of the meat at once, if you have a smaller diameter pot brown one piece of meat at a time and set it aside until all are nicely browned.


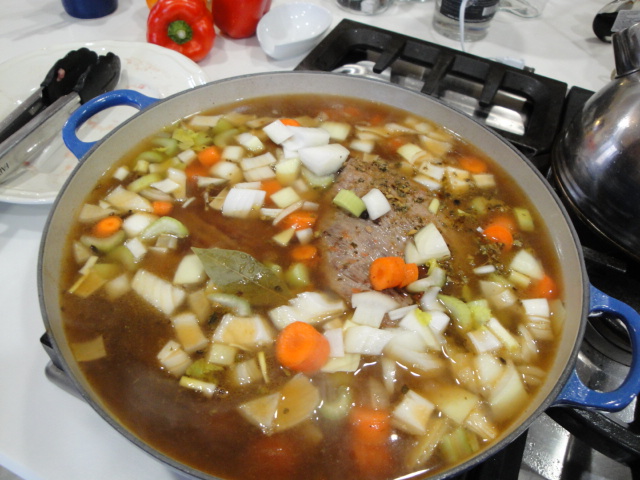
Once the beef is nicely browned on both sides add the onion, celery and carrots followed closely by the garlic, bay leaf, cumin and oregano.

When the aroma of the onion starts to become noticeable, add the beef broth. Cover and simmer for at least 1 ½ hours. The meat should be very tender at the end of this simmer.

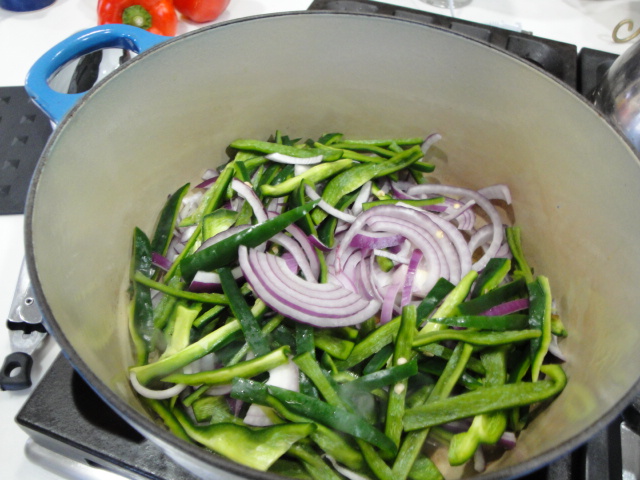
While the meat is simmering start prepping the next set of ingredients. Fresh Poblano Peppers, Red Onion and some Olive Oil

The original recipe uses green bell peppers but I much prefer the flavor of Poblanos. I’m not sure if they grow and use them in Cuba but can’t wait to visit and find out!
As I explained earlier, the name of this recipe translates directly into “old clothes”,with the colorful shreds of meat and peppers and onions resembling a pile of colorful rags. To gain this look, the cut for all of the vegetables should be ¼ inch strips.
In a second Dutch Oven or skillet sauté the strips of poblano and red onion in olive oil until just softened.

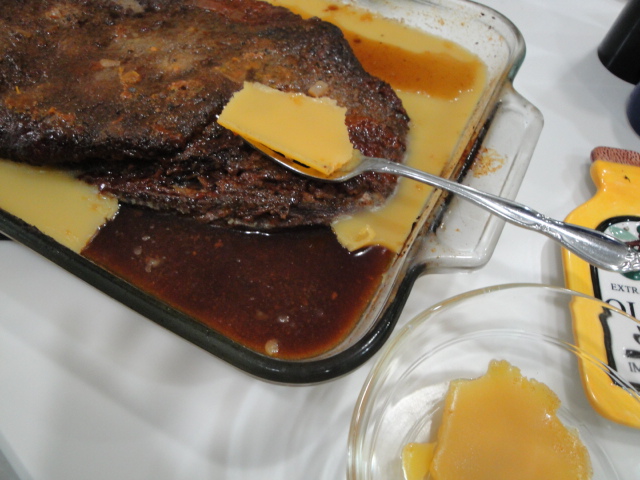
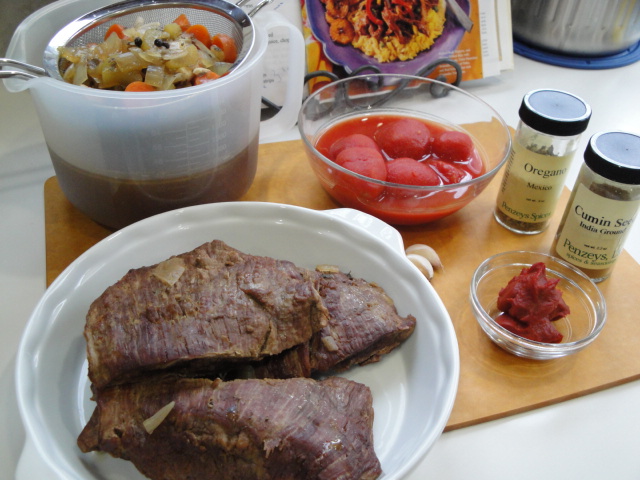
When the meat is tender, remove it to a separate dish to cool to the point that you can shred it by hand. Strain the vegetables from the broth and gather the next set of ingredients Whole Peeled Tomatoes in Juice, Tomato Paste, and more Garlic, Oregano and Cumin

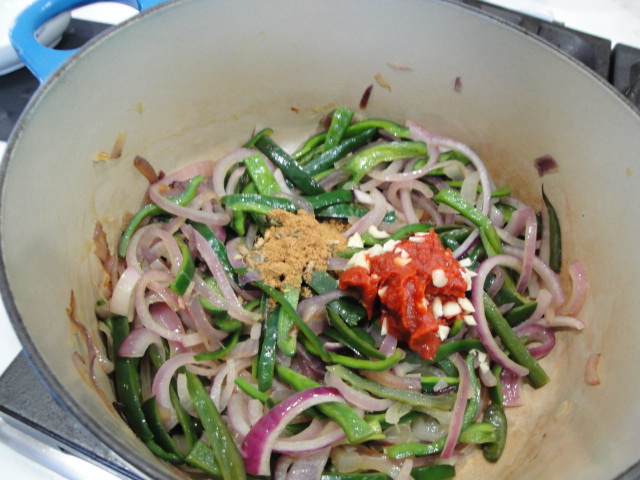
Add the Oregano, Cumin, Garlic and Tomato Paste to the pot with the softened peppers and onions and give it all a stir. This is to bloom the spices, brown the tomato paste a bit and take the raw edge off the garlic.

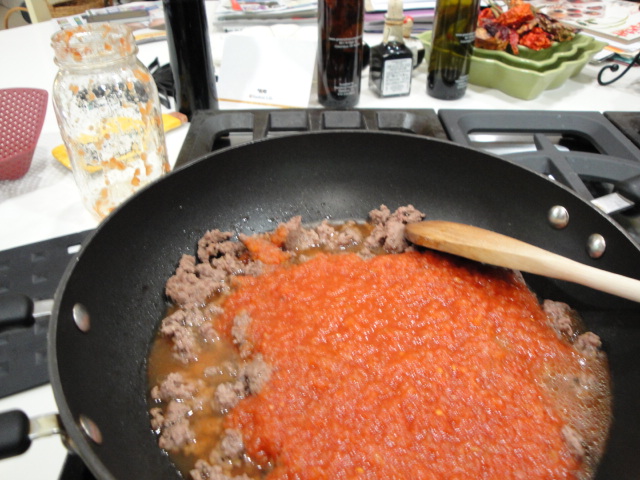
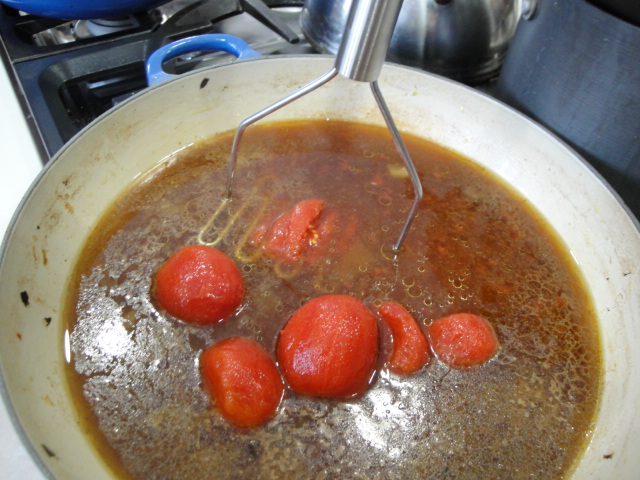
While this is happening on one burner, return the strained broth to the braising pan along with the whole peeled tomatoes. You can either cut the tomatoes with a pair of kitchen shears or mash them up a bit with a potato masher, pastry blender or a fork. No matter what you do they will likely squirt you, so mash gently!!!

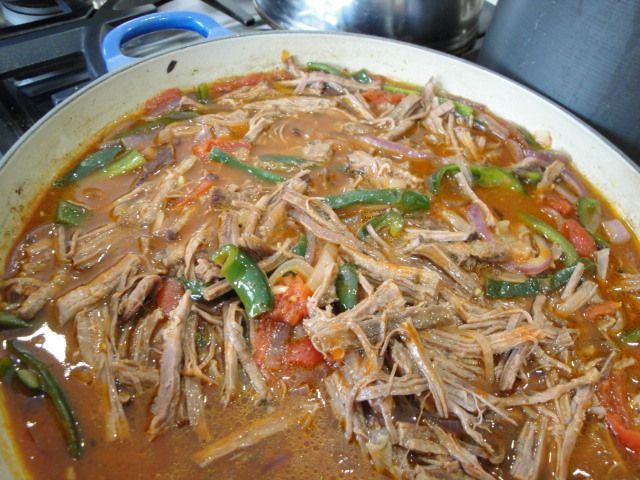
Next add the meat that has been cooled and shredded (easiest to pull it into shreds with your hands into strips approximately the same size as the peppers) along with the poblano peppers and onions into the pan with the broth and tomatoes. Cover and simmer for another 20 minutes.

While this is simmering you can prep the last set of additions to this colorful stew – Red and Yellow and Orange Bell Peppers and Pimento-Stuffed Spanish Olives along with a bit more Olive Oil. Any combination pepper colors will do but I’m partial to 2 red, 1 yellow and 1 orange.

Going back to the pot where you sautéed the first set of peppers (so maybe it’s not a one pot dish, but two pots for one great dish isn’t so bad), add the olive oil and the peppers that you’ve cut into ¼ inch strips. Cook them until they are just tender.

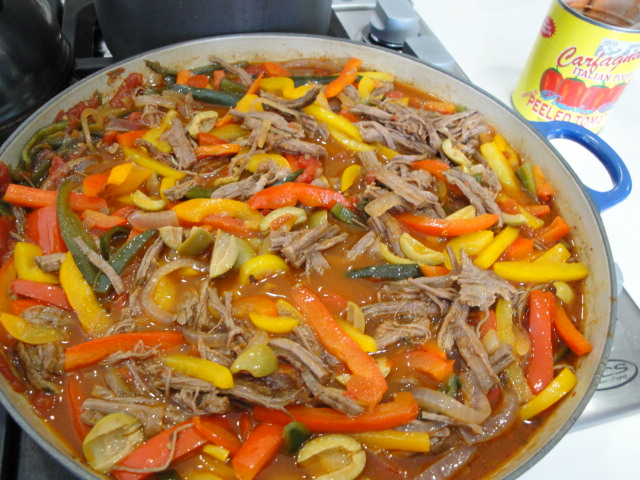
Add the beautiful peppers along with the olives to the pan with the meat and you’re close to eating. The original recipe calls for a cup of frozen peas, thawed but I like my peas to maintain their color and texture, so I prefer to serve them on the side. Now all you need to do is bring the stew to serving temperature and microwave some frozen peas!

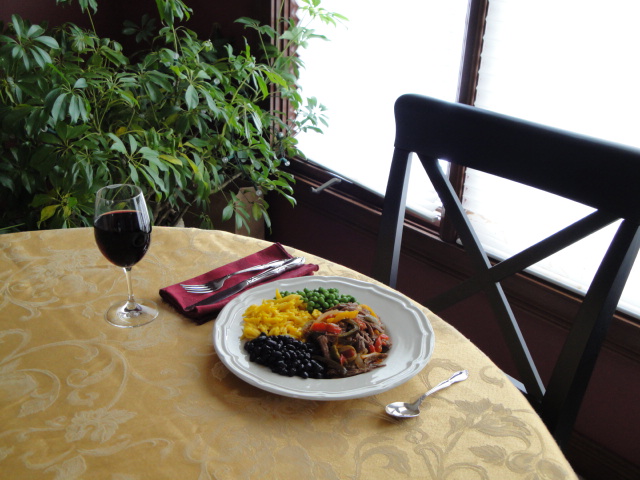
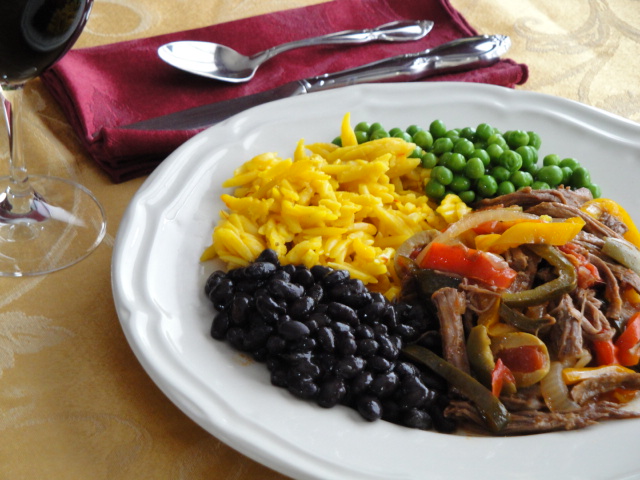
Now if you’ve simply had enough cooking for the day you can stop here and enjoy the fruits of your labor, but this dish traditionally served over a bed of Yellow Rice. I’ve made the Yellow Rice with Toasted Cumin that appears in the Gourmet article and it is very good (the only adjustment I recommend is to save your saffron for another time and use turmeric as the color component in the dish). Over the years however, I’ve switched out the Cumin Rice for a side of Saffron Orzo.
Saffron Orzo
Saffron Orzo is super fast to put together and the flavor of the saffron is a nice complement to the earthy cumin and oregano flavors in the stew. The other great thing about it is, you can make it while the stew heats, you set the table and pour the wine. It has 3 ingredients Orzo Pasta, Chicken Broth and Saffron. Notice the saffron? I brought it home from a recent trip to the mountains of Monteferino Italy where we met the grower and stood next to the field where the crocus grew!! More on this fantastic trip in future posts, but suffice it to say that there are some great recipes coming. But back to this quick cooking side dish.

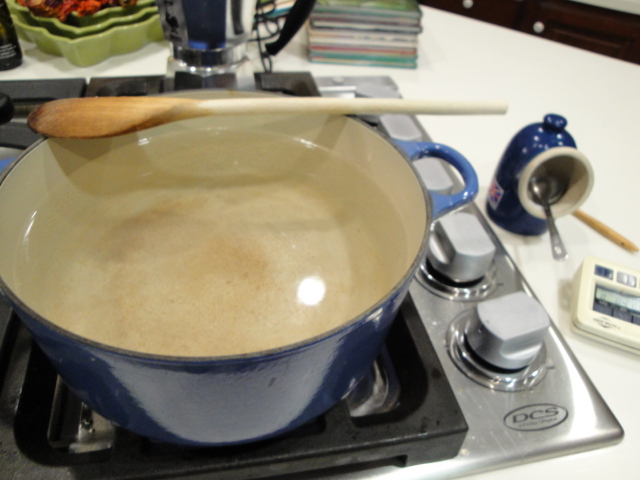
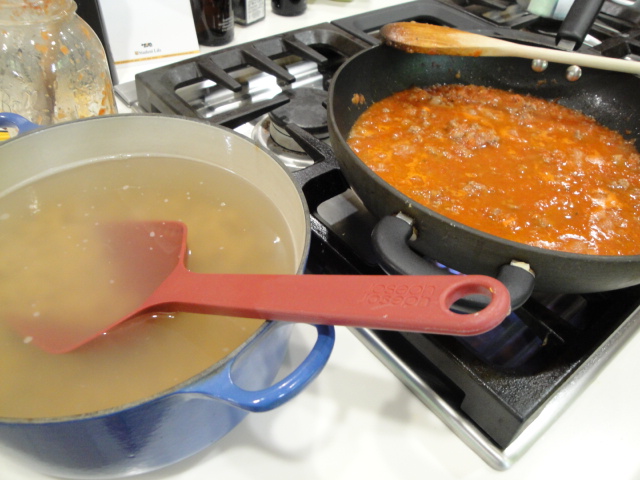
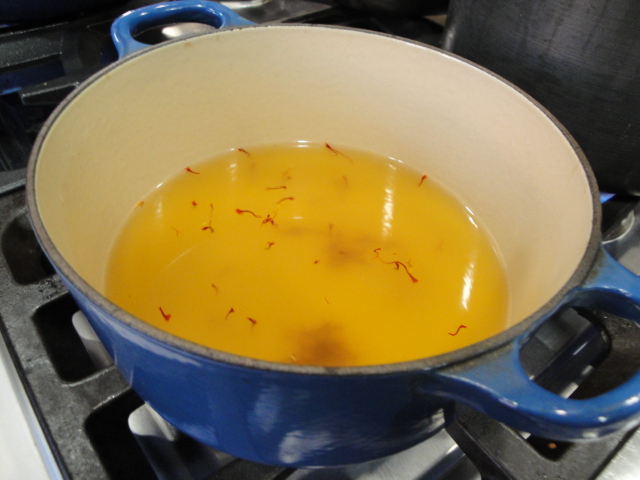
Crumble the saffron into a small pot. I use a 1.5 quart Dutch Oven (yes I do love my Le Creuset) and heat until the saffron becomes a bit more brittle. Add the chicken broth, bring it to a boil, add the orzo and give it a good stir

Cover the pot, reduce to a simmer and cook for 5 to 7 minutes or until nearly all of the liquid has been absorbed by the pasta. I like it a bit soupy because it reminds me of risotto but doesn’t need all of that stirring.

The only other thing I serve with this meal are black beans. I cook mine from dry, but feel free to open a can and warm them up. And last, but certainly not least pour yourself a nice glass of red wine and enjoy!
M.B

Ropa Vieja
by: M.B. Einerson
barely adapted from Gourmet January 1995
Servings: 8 to 10
Braising Ingredients
- 3 lb. flank or skirt steak
- salt and freshly ground black pepper
- 1 Tbsp. olive oil
- 2 carrots, coarsely chopped
- 1 large onion, coarsely chopped
- 2 celery ribs, coarsely chopped
- 1 bay leaf
- 3 cloves garlic, crushed
- 1 tsp. dried oregano (I prefer Mexican for this one but any will be fine)
- 1 tsp. ground cumin
- ¼ tsp. black peppercorns
- 2 quarts beef broth or stock (I usually use low-sodium and then adjust the dish as I go with salt)
- 2 poblano or green bell peppers, cut into ¼ inch strips
- 1 red onion, cut into ¼ inch strips
- 1 Tbsp. olive oil
- 3 Tbsp. tomato paste
- 3 cloves garlic, minced
- 1 tsp. ground cumin
- ¼ tsp. dried oregano
- Braising liquid from above
- 14.5 oz. can whole peeled tomatoes with juice, chopped (it’s hard to find this size can of whole peeled tomatoes, so I usually just use half of a 28 oz. can and save the rest for another recipe. The whole peeled ones break down into the recipe so much better than standard diced tomatoes in juice. Diced tomatoes usually have calcium chloride added to help them maintain their shape and texture. Nice for many dishes but not this one!
- 4 bell peppers of assorted colors, cut into ¼ inch strips – I like 2 red and one each yellow and orange but any combo you like is great.
- 1 Tbsp. olive oil
- ½ cup pimento-stuffed Spanish olives, drained and halved or quartered.
- 1 cup frozen peas (optional-I prefer my peas on the side so they don’t become over cooked especially when the leftovers are reheated!)
Braising the Beef:
In a 5 qt. Dutch Oven or braiser, heat the olive oil on medium-high heat. Lightly salt and pepper the beef and brown on all sides. If your pot has a small surface area you will need to do this in batches.
Once all of the beef is browned, add it all back to the pot along with the onion, carrot and celery. When you start to smell the aroma of cooked onion, add the garlic, oregano, cumin and peppercorns. Lift the meat to allow the spices to get some heat. This will only take a minute or so.
Add the beef broth, bring to a simmer and cover and cook for at least 1 ½ hours, or until the meat is tender.
When the meat is tender, transfer it to a cutting board or platter to cool. Strain the liquid from rest of the braising mix and press on the vegetables to extract as much liquid and flavor as you can. Toss the vegetable solids, they’ve given up all their flavor to the broth and you don’t want to bite on those whole peppercorns or the bay leaf when you’re eating your stew.
Cooking the Poblano Peppers & Red Onion and Blooming the Flavors:
While the meat is cooling, sauté the poblano pepper and red onion strips in 1 Tbsp. of olive oil. Use a clean Dutch oven or large skillet for this step. You will be using it again later so don’t worry about generating lots of pots to clean-there will only be two for the entire stew.
Once the peppers are slightly softened and the onions are translucent, stir in the tomato paste, cumin, oregano and garlic. This will deepen the color and flavor of the tomato paste, bloom the spices and give the garlic that lovely caramelized flavor. Don’t overcook it however as you don’t want to generate burnt/charred flavor. Turn the burner off and let this mixture rest while you shred the beef.
Shredding the Beef:
The beef should be cool enough to handle by now, so start pulling it into shreds. You want shreds that are approximately 2 inches long and ¼ inch wide. To do this, cut the pieces of meat across the grain into 2 inch lengths and then shred with the grain into strips approximately ¼ inch wide. This goes against the way you typically tough cuts of meat like flank steak but is should be nicely braised and tenderized so that you will have a bit of chew to the stew, but not a mouthful of tough meat!
The Second Simmer:
Now that you have the simmering liquid strained, the beef shredded and the peppers, onions and seasonings ready you are all set to start the second simmer. Add the strained braising liquid to your original 5 qt. pot along with the whole peeled tomatoes, the beef and the pepper onion mixture. Bring it all to a simmer, cover and simmer for 20 minutes or so while you prepare the last of the peppers and cut the olives.
The Home Stretch:
Back in the pot that held the Poblano and Red Onion mixture, add 1 more Tbsp. of olive oil and heat on medium heat. Stir in the colored pepper strips and sauté until just softened.
Once the beef mixture has simmered for 20 minutes or so, stir in the colorful peppers and olives and heat to serving temperature. You can make the Saffron Orzo and cook some peas while it’s heating.
Enjoy with a nice glass of red wine!
Saffron Orzo
by: M.B. Einerson
Inspiration from Gourmet March 1990
Servings: 4 to 6
- ¼ tsp. saffron threads
- 1- 14.5 oz. can chicken broth (2 cups)
- 1 cup orzo (rice-shaped pasta)
Crumble the saffron threads to small Dutch over or saucepan and heat over medium-high heat until the saffron becomes a bit more brittle. Add the chicken broth and bring to a boil. Stir in the orzo, cover and cook for 5 to 7 minutes or until nearly all of the liquid has been absorbed and the rice is al dente.
Note: if you’re serving this as part of an Italian meal or eating it on its own, you may want to stir in some unsalted butter and freshly grated Parmesan cheese (this will take it really close to the original Gourmet recipe.