
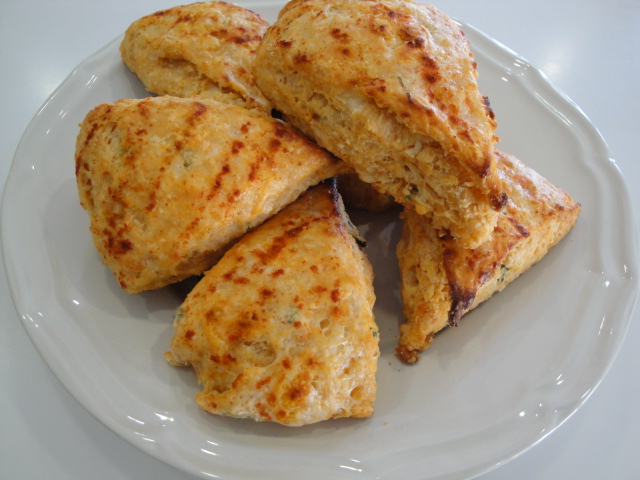
As promised some scones to go with your soup!
Cheese scones are one of those baked goods that have been on my “to tweak” list for some time. On that trip to England that I mentioned in the Carrot & Coriander Soup post, we had Raisin Scones and Tea from a food truck on the site of Stonehenge. Once again it was a very cold and blustery day and I wondered if those Neolithic Brits had the comfort of something as satisfying as a warm scone and a cup of hot tea while they were hauling and erecting those gigantic rocks.
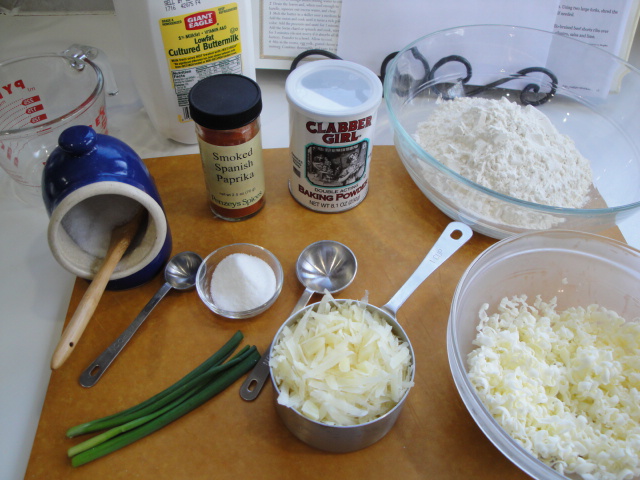
My daughter wanted a cheese scone but I convinced her that Raisin were more “authentic” and that I would make her some cheese ones when we returned home. Why I didn’t let her have her own cheese scone still evades me to this day!! In any case I’ve made quite a few batches of Cheese Scones over the years and there are several in my tried & liked file, but none that ever truly satisfied me. Many cheese scones contain cheddar cheese and chives. A good combo for sure, but at the moment, Manchego is on my favorite cheese list and smoked paprika is a flavor I enjoy in many dishes these days. Most important of all however, these are the ingredients I happen to have on hand. As you will learn as this blog continues, I’m trying hard to eat locally and in season. So when my chives are buried under snow it’s time to move on to another flavor profile.
Scones are an interesting baked good, with ratios of flour to butter ranging far and wide. The liquid ingredient can be milk, buttermilk or cream to name a few. Some have egg and other’s don’t. One recipe I made just recently, and really enjoyed contains, butter, egg, heavy cream and ricotta cheese. This one I’ll share at a later date, but to go with my Carrot & Coriander soup I wanted something savory with lots of cheese and just a hint of heat. I’ve done a bit of reading about the difference between American and British scones and to be honest I don’t have a clear memory of that Stonehenge scone, except that it was mighty tasty. Will I recognize it if I make it?? I’m not so sure, but I’m willing to try a few more batches of scones to give it a try. Now I’m not as ambitious as Cook’s Illustrated, so there won’t be a hundred batches to make sure I’ve got a perfect cheese scone. I’d probably try a few more if I had a few more people around these days to eat and comment on the trials, but Mark and I can only eat so many scones and I hate wasting food!! So far in this latest quest, I’ve made two batches of cheese scones with vastly different formulas and methods. The first one which contained butter and quite a lot of heavy cream was better than any of the other 3 I had in my files. Still it wasn’t exactly what I was looking for. As I continued to read and research I think it is closer to what is described as an “American type” scone, very buttery and flaky in texture. I wanted something a bit less fatty but still tender and flavorful. I was also interested in trying out the method where frozen butter is coarsely grated to eliminate the “cutting in” step. In theory this would yield a more uniform distribution throughout the dough and allow me to use a tad less fat. I also wanted to use buttermilk because I like the tangy, cultured flavor (a boost to the cheese) and the extra lift it gives to baked goods when combined with baking soda. So, for this post I’m giving you Manchego and Smoked Paprika Scone-2 . It has all the cheese flavor I was looking for and from what I’ve read, may resemble a British type more closely, hench the ? English Style in the title. They rose light and fluffy with a texture between bread and biscuit.
So give them a try and let me know what you think-especially if you’ve had the good fortune to check out the real thing from the food truck at Stonehenge recently!
M.B.
The Ingredients
The Method
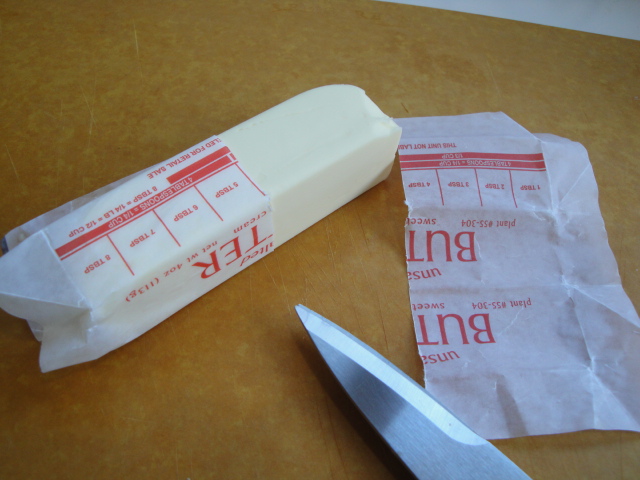
Butter
As I said I wanted to give the method of coarsely grating the butter a try, so I pulled out one of my favorite tools, the Microplane grater. This one is the Extra Coarse model. It’s always difficult to grate the last bit of anything with out taking a bit of a knuckle or finger, so I took the stick of frozen butter and trimmed away the paper wrapper to reveal the proper measurement (4 Tbsp.) for this recipe. This left me with a safe and easy way to grate the correct amount without endangering any body parts!

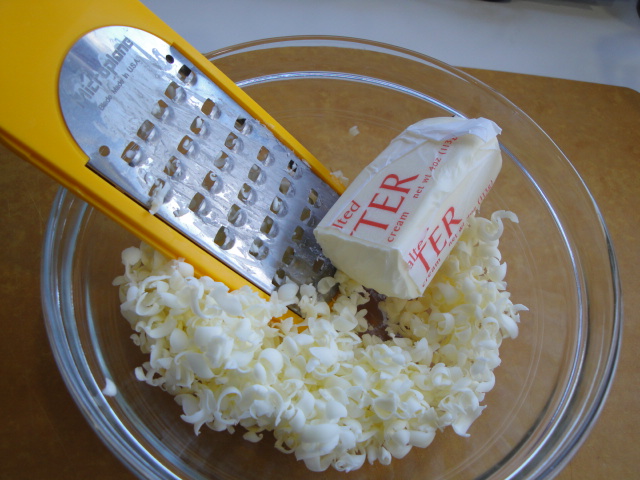
From here I placed the bowl of coarsely grated butter back into the freezer and grated the Manchego cheese using the same grater. The butter left on the grater helps to keep the cheese from sticking.
Cheese
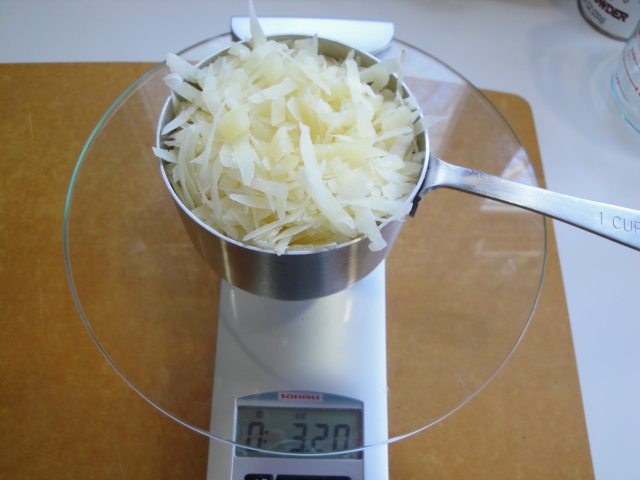
The standard weight/volume ratio for grated cheese is 4 oz.= 1 cup. In the case of this type of cheese and this size of grate/shred, I get 3.2 oz. in a fairly packed cup. Normally I wouldn’t care so much about a bit of cheese here and there, but this is baking! So if you have a kitchen scale pull it out!
Pre-heat your oven to 400°F
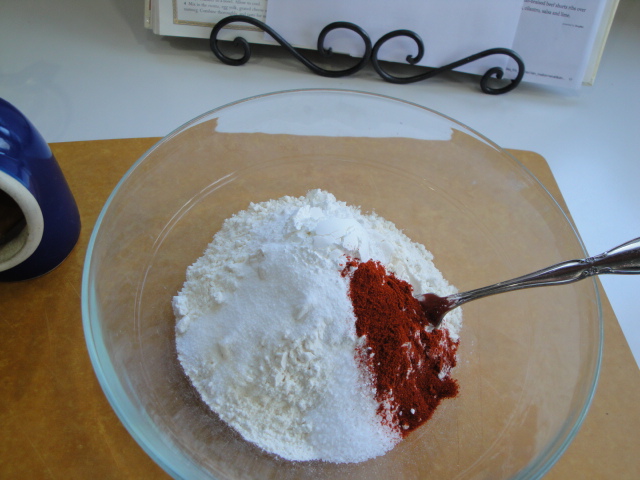
Combine all of the dry ingredients flour, sugar, baking powder, salt and smoked paprika in a medium to large bowl. Give them a good whisk or stir.
Next add the grated butter and cheese and chives/green onions/parsley. Stir them together quickly to evenly distribute the butter and cheese.
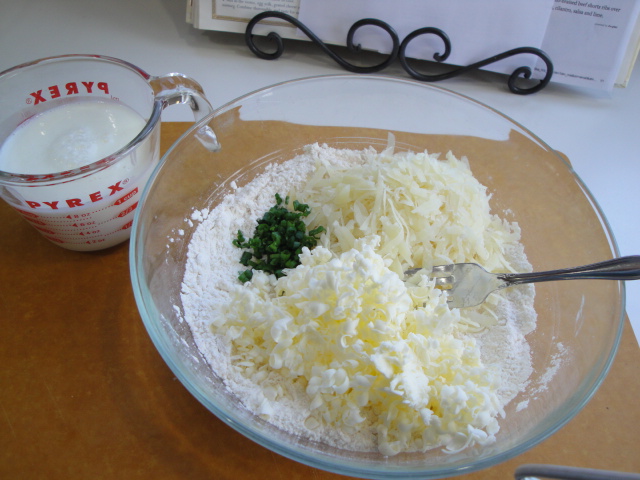
Stir in the buttermilk using as few strokes as possible to just moisten the dough. Once you add the buttermilk, the gluten will begin to develop and and the reaction between the acid in the buttermilk and baking soda will begin.

Turn the loose mass out onto a lightly floured surface and knead just enough to pull into a rough ball shape.

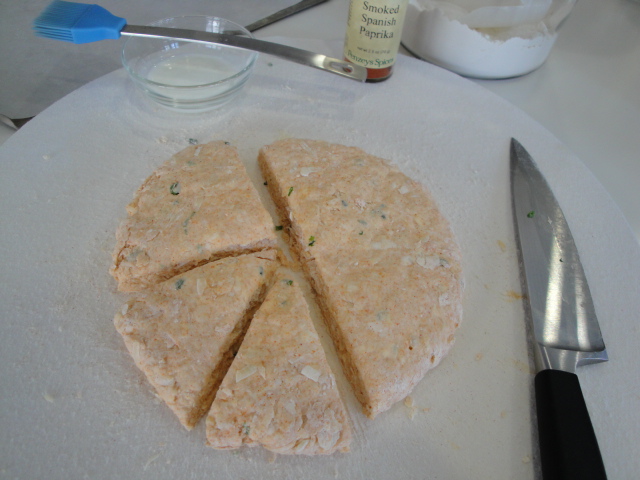
Flatten the ball into a disk that is approximately 8 inches round and 1 inch thick. Sorry my hands were pretty sticky so I didn’t get a shot of the ball!

Cut the disk into 8 triangles. Some scones are rolled and cut with a biscuit cutter, but this requires re-rolling some of the dough. Not a good idea with this recipe, as you would definitely over develop the gluten and end up with some scones that are much closer to bread than scone.
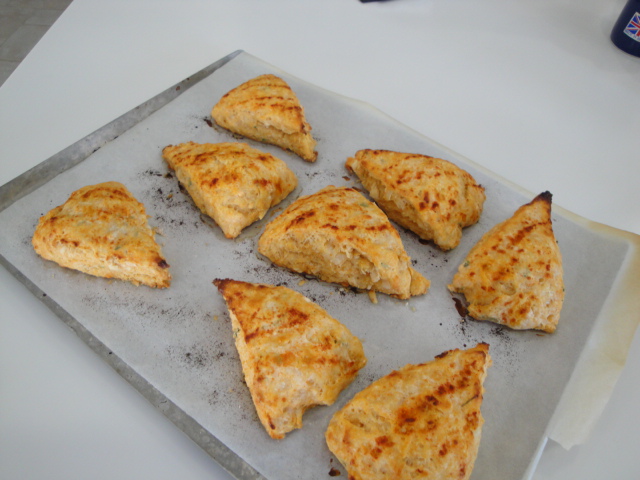
Place the scones on a parchment paper lined baking sheet, brush with a little more buttermilk and sprinkle with additional smoked paprika.


Bake at 400°F until golden brown. This will take from 25 to 30 minutes. Give the baking sheet a full 180° rotation after 10 to 15 minutes in the oven.
These will rise really high and will taste best within a few minutes from coming out of the oven. The texture will be light, somewhat bread like and most likely different than the scones you are accustomed to eating.
They are great as a side to the Carrot & Coriander Soup from last week’s post but they are equally good with a little smoked salmon or some scrambled eggs!

Enjoy!!
Manchego & Smoked Paprika Scones -? English Style
by: M.B. Einerson
Adapted from many Cheese Scone recipes and no one in particular
Servings: 8 scones
- 4 Tbsp. frozen unsalted butter, coarsely grated
- 1 cup (3 oz.) coarsely grated Manchego cheese (sharp Cheddar would be good as well)
- 2 cups unbleached all-purpose flour
- 1 Tbsp. sugar
- 1 Tbsp. baking powder
- 1 tsp. kosher salt
- 1 tsp. smoked paprika, plus additional for sprinkling on top
- 1 Tbsp. snipped chives, minced green onion tops or minced flat leaf parsley (optional)
- 1 cup buttermilk, plus additional for brushing tops
Preheat oven to 400°F.
Grate the frozen butter using an extra coarse Microplane grater or the largest holes on a box grater. Put back in the freezer while you are prepping the remainder of the ingredients.
Grate the cheese using the same grater (don’t wash in between-the butter remaining on the grater helps keep the cheese from sticking.
Combine the flour, sugar, baking powder, salt and smoked paprika in a medium to large bowl. Quickly stir in the grated butter and cheese, chives. Then gently stir in the buttermilk. Use a light hand here, stirring just to combine the ingredients.
Turn the mixture (it will or should be crumbly and loose) out onto a lightly floured surface and knead a few times to pull it into a ball. Flatten the ball into a round disk approximately 8 inches in diameter and 1 inch thick. Cut the disk into 8 triangles. Place the triangles on a parchment lined baking sheet. Brush the tops with buttermilk and sprinkle with smoked paprika. Bake for 25 to 30 minutes or until golden brown. If your oven is like mine you will want to give them a 180° turn at 10 to 15 minutes.
